How do you age new celluloid inlays?

  • Thread starter ExNihilo
  • Start date
  • This site may earn a commission from merchant affiliate links like Ebay, Amazon, and others.

ExNihilo

Senior Member
Joined
Nov 21, 2008
Messages
1,750
Reaction score
2,789
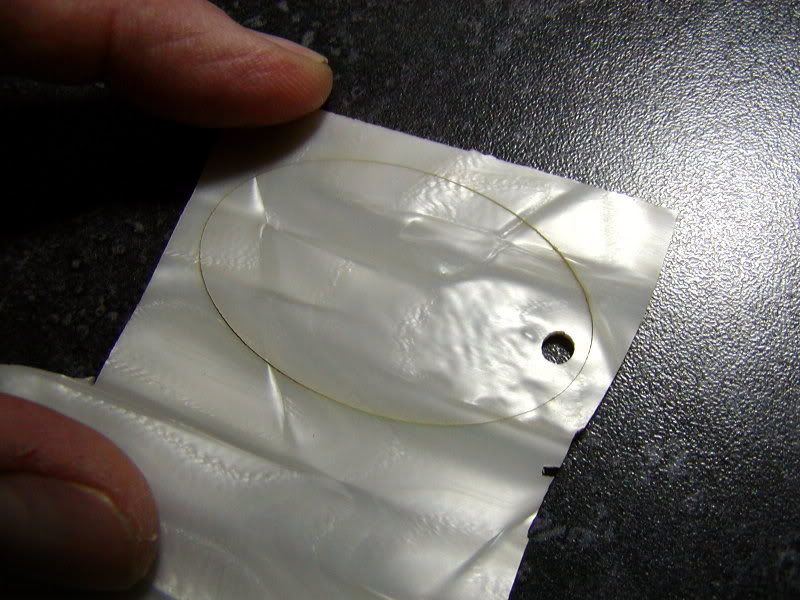
A got a fingerboard from Dave Johnson with his celluloid inlays in it. I would like to age them. Perhaps even make some look shrunken. Do any of you have any ideas as to how to do this and make it look real?

Thank you.
 

jonesy77777

Senior Member
Joined
Oct 23, 2008
Messages
1,647
Reaction score
325
I know Tom does, but being he sells the inlays with the option of aging, so I would assume it would be his proprietary technique for his customers to want to buy from him. Maybe he charges a nominal fee to do it for you, wouldn't hurt to ask. I think I saw a thread once about someone aging them, I could be wrong but I seem to recall something about heating. Try a search.
 

TwangyTele

Senior Member
Joined
Aug 12, 2008
Messages
6,605
Reaction score
2,933
DSCF0574.jpg


I think the coolest part isn't really the aging on the inlays, but on the wood of the fretboard

sorry I dont have an answer to you question, but I thought I would share a picture :D
 

Danelectro

V.I.P. Member
Joined
Sep 6, 2007
Messages
4,235
Reaction score
7,880
I don't know about actually shrinking them, but you could file them smaller to give them a shrunken appearance.

I used cyanacrylate glue on the first set of inlays that I installed. They came out perfect, but the more I looked at them, the more it bothered me that they were so perfect that they looked less realistic. When I did the next set of inlays I was intentionally a little more sloppy. Also, I used Duco cement instead of cyanacrylate. Duco pulls some of the color out of the rosewood and it also melts the celluloid material, so you get a bit of brownish coloration on the edge of the inlays. These are not nearly as sloppy as vintage inlays, but I think they came out looking pretty decent.

GibsonLesPaul07CR87258213800.jpg
 

FLICKOFLASH

V.I.P. Member
Joined
Mar 17, 2007
Messages
24,893
Reaction score
8,756
Since they are the same as the original 50's inlays sun them or use a sunlamp. They will shrink & darken just like the originals
 

Metamatic

Senior Member
Joined
Oct 24, 2007
Messages
1,022
Reaction score
431
Put them in the upper area in a oven, approx 70 degrees Celsius (that would be about 160 F) it'll take some time on that low temperature but you don't risk to melt them only shrink. They will shrink in a realistic shape and get a nice golden color (depends on what oven you're using and what position, I use grill).

I've done it with great result but as always do a test first.
 

Metamatic

Senior Member
Joined
Oct 24, 2007
Messages
1,022
Reaction score
431
One question about the DJ inlays. They're quite rough as they are cut on a band saw. Do you leave them as they are and glue them in or do you polish the sides?
 

pinefd

V.I.P. Member
Gold Supporting Member
V.I.P. Member
Joined
Mar 22, 2007
Messages
9,813
Reaction score
16,394
Let's keep in mind that Scott (the OP) mentioned that he got a fingerboard with the inlays already in it. So while some of the suggestions above sound great, they wouldn't necessarily apply to his situation.


Frank
 

FLICKOFLASH

V.I.P. Member
Joined
Mar 17, 2007
Messages
24,893
Reaction score
8,756
One question about the DJ inlays. They're quite rough as they are cut on a band saw. Do you leave them as they are and glue them in or do you polish the sides?

Dave’s inlays are precision cut via a laser. So rough ? Were you sold some fake Dave inlays ?
 

alk-3

Senior Member
Joined
Jan 8, 2008
Messages
2,075
Reaction score
3,428
One question about the DJ inlays. They're quite rough as they are cut on a band saw. Do you leave them as they are and glue them in or do you polish the sides?

I spend a fair amount of time smoothing them out. They are laser cut, but at a very low resolution. It's particularly noticeable on the rounded ends, where it appears the laser uses a sidestep pattern at low res.

That being said, none of this takes away from the fact they are dead on to the originals, and cleaning up the stepped sides is a small price to pay.

Scott, I wish I could help, but I'm afraid once they're in the board it's too late to do much about it.
 

Metamatic

Senior Member
Joined
Oct 24, 2007
Messages
1,022
Reaction score
431
Let's keep in mind that Scott (the OP) mentioned that he got a fingerboard with the inlays already in it. So while some of the suggestions above sound great, they wouldn't necessarily apply to his situation.


Frank

Sorry, I missed that. :rolleyes:
 

alk-3

Senior Member
Joined
Jan 8, 2008
Messages
2,075
Reaction score
3,428
here's a photo of the inlay as it comes from dave:
you can see the stepped cut on the edge.
web.jpg


here's the same inlay after shrinking:
it becomes very translucient just as the originals do.
web.jpg


here's one installed:
web.jpg


and a group shot:
web.jpg
 

FLICKOFLASH

V.I.P. Member
Joined
Mar 17, 2007
Messages
24,893
Reaction score
8,756
The trick to getting the dead nuts translucient look is the routes must be radiused the same as the board .Not a flat base.
 

alk-3

Senior Member
Joined
Jan 8, 2008
Messages
2,075
Reaction score
3,428
The trick to getting the dead nuts translucient look is the routes must be radiused the same as the board .Not a flat base.

Agreed. The thickness being uniform across the inlay is important.
I radius the front and back, and inlay it into a radiused mortise.
 

pinefd

V.I.P. Member
Gold Supporting Member
V.I.P. Member
Joined
Mar 22, 2007
Messages
9,813
Reaction score
16,394
The trick to getting the dead nuts translucient look is the routes must be radiused the same as the board .Not a flat base.

Agreed. The thickness being uniform across the inlay is important.
I radius the front and back, and inlay it into a radiused mortise.

I realize this is the case. But can you think of any tricks for someone retrofitting a board with flat mortises to get the same effect? Perhaps radius the underside of the inlay and build up under the center of the inlay with a combination of rosewood dust and CA glue?


Frank
 

Latest Threads


Top
')