Help, my first set neck got the wrong angle

  • Thread starter lats667
  • Start date
  • This site may earn a commission from merchant affiliate links like Ebay, Amazon, and others.

lats667

Senior Member
Joined
Sep 18, 2019
Messages
192
Reaction score
159
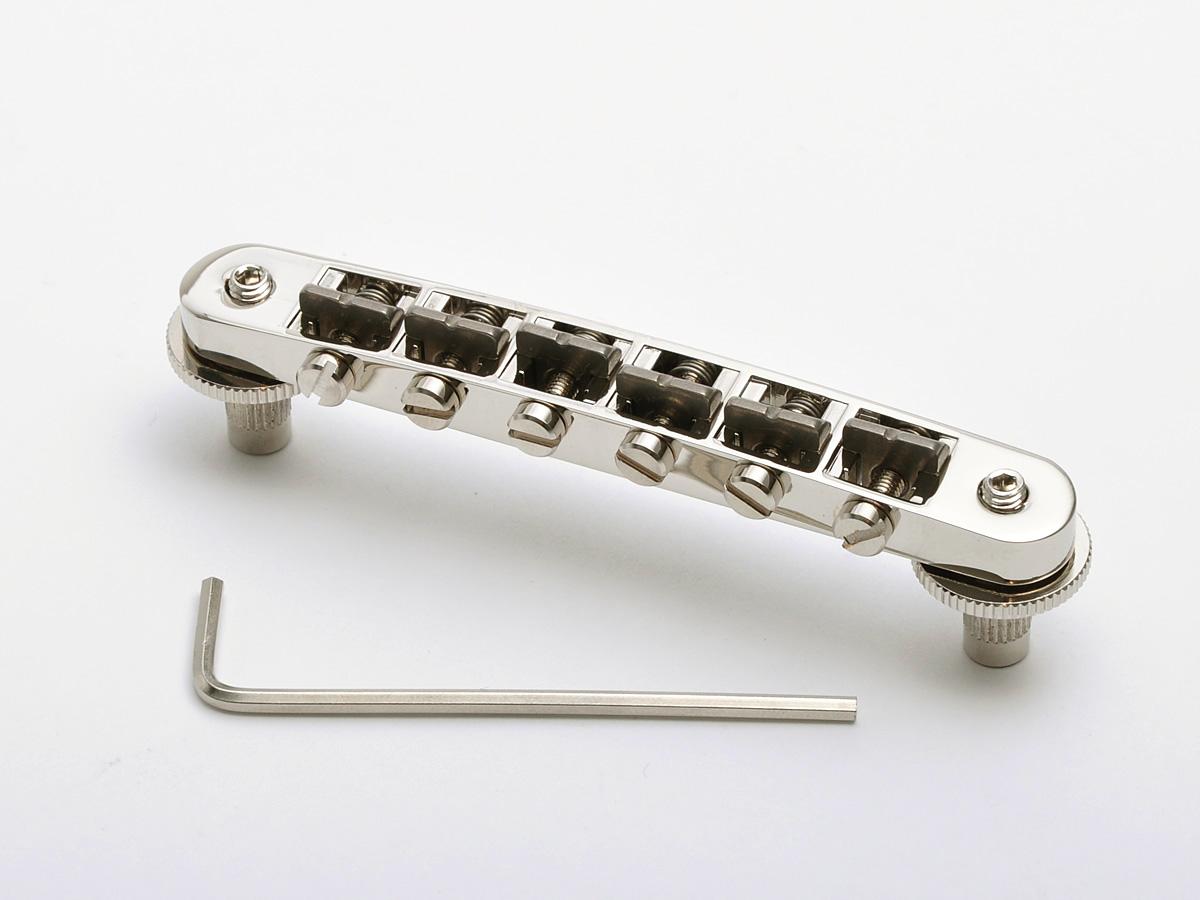
So finally the day came to put strings on the 58 flying v and do the nut/basic setup. I thought I had the neck angle sorted, but alas ut is too shallow. String height is going to be an issue even when the bridge is screwed down. So far this build has involved a refret. It seems like I have to do a neck reset as well. I'm about to lose my motivation at this point. Any tricks for neck removal without ruining the fret board or the body center glue seam?
 
Last edited:

P.H.Fawcett

Senior Member
Joined
Apr 8, 2014
Messages
224
Reaction score
424
Totally possible with a heatstick and a some water from a dropper. Just take your time. Here's a fellow taking off a Les Paul neck with this method. And a link to Stewmac for the heatstick. Best of luck !


beerbelly

Banned
Joined
May 27, 2009
Messages
574
Reaction score
1,594
I built a Gibson Moderne copy a few years ago and lost my body centerline, leaving the strings offset on the neck. I did some Googling on how to reset a glued-in neck, then found a cheap espresso maker on Craigslist that had a steamer function. I used a football inflator needle and the same-sized drill bit to inject steam into the neck joint after removing 3 frets in the neck joint area. I then shimmed & re-routed the pocket to bring the neck into alignment.

Not exactly your scenario, but the removal is the same. If you try this, don't use surgical tubing, use automotive hose; ask me how I know...

before 2.jpg
neck steamer.jpg
steamer holes.jpg
neck out.jpg
 

lats667

Senior Member
Joined
Sep 18, 2019
Messages
192
Reaction score
159
Thanks a lot for your suggestions!

That heatstick method looks neat. Wondering if it would be possible with some copper wire instead, ordering something from StewMac is very expensive.

I have a steamer somewhere, so might also be able to use that if I can fit a hose/ball nipple on it.

I do worry a bit about removing any frets to do this, as I'm on my second fret job, and wasn't very happy with the process and results, and I have no more fret material... of course, I will get some more eventually... But with the long neck tenon design of the flying v, and maybe not so long heel, I was hoping I could get by by steaming from the pickup cavity.

As for the lowrider option, I have been contemplating lowering the bridge etc, but I fear it might bring other problems. I have to probably reroute pickups to lower them, and it won't look very nice if the pickups go lower than the rings. I could probably make this work with the current bridge if I were to to it this way.

For the steam/heat option I worry about the center seam of the guitar body, but I guess it won't affect it too much as I will be heating a very small portion of it.
 
Last edited:

LtDave32

Let Desert Star be your next guitar!
Super Mod
Silver Supporting Member
V.I.P. Member
Joined
Mar 19, 2010
Messages
68,455
Reaction score
254,069
The specific degree angles before and after were never discussed.

What were they?
 

pshupe

Senior Member
Joined
Jan 19, 2012
Messages
6,162
Reaction score
7,167
I usually shoot for about 5/8" off the top of the frets at the bridge location. That gives me about 1/8" of movement down. I like the bridge quite low. For a Flying V that means about a 3 degree neck angle. It's all about that dimension when setting the neck angle.

I'm working on a set of drawings for a 58 Flying V currently.
Capture.JPG


Capture2.JPG


Cheers Peter.
 

LtDave32

Let Desert Star be your next guitar!
Super Mod
Silver Supporting Member
V.I.P. Member
Joined
Mar 19, 2010
Messages
68,455
Reaction score
254,069
For a Flying V that means about a 3 degree neck angle. It's all about that dimension when setting the neck angle.
Yessir Pete. 3 degrees is better on a 58 V, because o the bridge stud going through the pickguard.

2.5 is a bit shallow for that.
 

lats667

Senior Member
Joined
Sep 18, 2019
Messages
192
Reaction score
159
I think it _might_ be possible to do this without resetting the neck, I will try to rout the neck pickup cavity deeper and make some good notches in the saddle of the bridge. The pick guard bridge post whole was not placed correctly anyway, so I might make a new and bigger whole which gives room for the bridge thumbwheel. I aimed for a somewhat low/shallow angle, 2-3. But should probably have aimed for 3.

Probably will look better with a neck reset, I like to have some room for adjustment if I need a bit of neck relief etc.But who knows how the seeam at the heel will look afterwards when an amateur like me tries to do it.
 

lats667

Senior Member
Joined
Sep 18, 2019
Messages
192
Reaction score
159
The specific degree angles before and after were never discussed.

What were they?
I was aiming for 2-3 (closer to 3), but I did not measure the angle properly when checking before glueing. I took a straight edge and eyeballed the height over the bridge.
 

pshupe

Senior Member
Joined
Jan 19, 2012
Messages
6,162
Reaction score
7,167
I was aiming for 2-3 (closer to 3), but I did not measure the angle properly when checking before glueing. I took a straight edge and eyeballed the height over the bridge.
Straight edge over the bridge is the right way to confirm before gluing the neck.
1685382384186.png


After cutting the neck pocket or the tenon, I don't think about neck angle in degrees anymore. Just straight edge and adjust as needed to get the correct height.

Cheers Peter.
 

lats667

Senior Member
Joined
Sep 18, 2019
Messages
192
Reaction score
159
Well, I cut my first nut, made some good deep grooves in the saddles and modified the pick guard to sink the thumbwheel into it. And routed the neck pickup deeper. I did actually get a perfectly playable guitar, although the wiring was so-so.... it was quite tight in that cavity, so I have to tidy up a bit... All in all happy for my first independent build. I'll just keep an eye on the action/setup and see if I need a neck reset in the future. Just took a couple of pix while testing. I'll do some more filing on the nut etc, so did not put all the screws in. I cut a brass truss rod cover from the spare brass I made the V out of.
 

Attachments

  • 20230529_202229.jpg
    20230529_202229.jpg
    170.5 KB · Views: 78
  • 20230529_202322.jpg
    20230529_202322.jpg
    151.8 KB · Views: 84
  • 20230529_221357.jpg
    20230529_221357.jpg
    97 KB · Views: 73

pshupe

Senior Member
Joined
Jan 19, 2012
Messages
6,162
Reaction score
7,167
Is this guitar already finished? Meaning do you have a finish on it?

If you have yet to apply finish. I've got a wild idea. I don't want to admit I used this, that is why I call it wild. ;-) Take off all the parts and put it through a thickness sander. I have an open ended thickness sander and have done this on a flat top guitar. I took off about 1/16", slightly less actually, which made the guitar perfect with a nice low bridge position. I kept it away from the fret board and had to hand plane a couple inches down flush but it worked really well. It was a guitar for me, so I took a chance. Just a thought.

Cheers Peter.
 

geezbill

Senior Member
Joined
Mar 11, 2022
Messages
380
Reaction score
592
i've encountered this issue once. i recessed the tuneomatic into the body to fix it. i've seen stock guitars with recessed tuneomatics
 

lats667

Senior Member
Joined
Sep 18, 2019
Messages
192
Reaction score
159
Yes, there is finish,ubfortunately. But I think it'll be allright. Thanks for the suggestion :)
 

Latest Threads


Top
')