AndrewLP1081996
Senior Member
- Joined
- Jul 18, 2012
- Messages
- 840
- Reaction score
- 114
Thanks and it looks great. My aria is a js model and sounds good with stock pickups
Thank, Riku... Difference is, yours is a scratch build - this is a kit...! My own 'skills' and confidence aren't up to a scratch just yet!


After you're done with this, I...well...WE are expecting you to do a scratch build.

") But to do a body will need a bit more practice yet, I think...!
But to do a body will need a bit more practice yet, I think...!But to do a body will need a bit more practice yet, I think...!
Why?
It's just a block of wood that you cut a little here and there to make it look like a guitar.
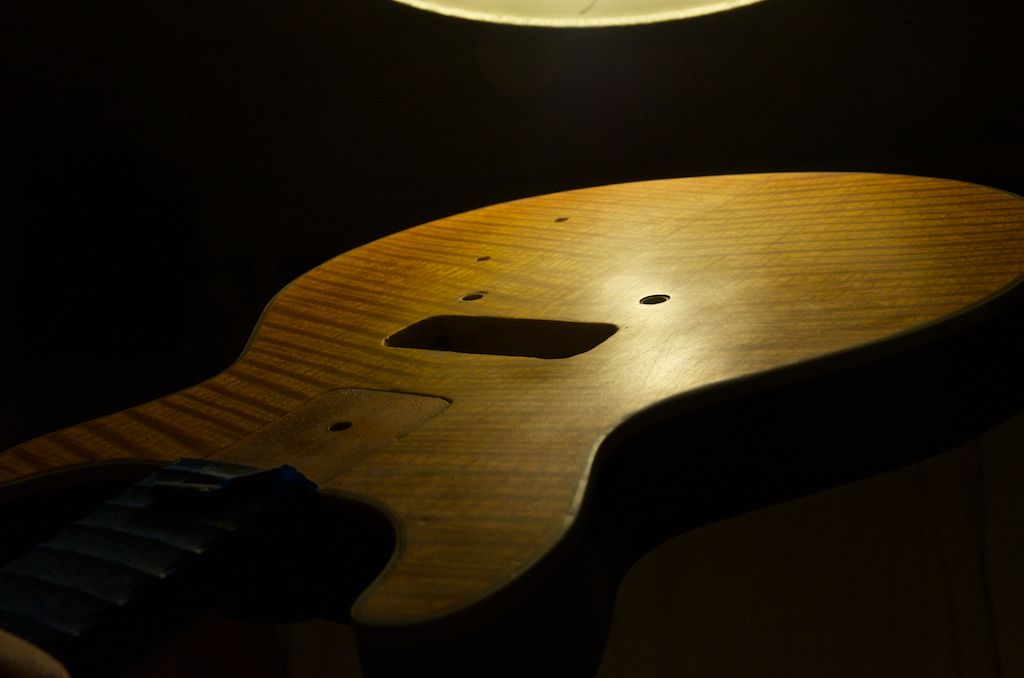
... and it looks so damn good... still kicking myself for not putting curly maple on my Junior.
!... and it looks so damn good
(especially on a simple Junior)