You can if you have a compressor and you can buy a airbrush for not to much money. I also have a cheaper version but it works great and is real fun to do.
You can if you have a compressor and you can buy a airbrush for not to much money. I also have a cheaper version but it works great and is real fun to do.
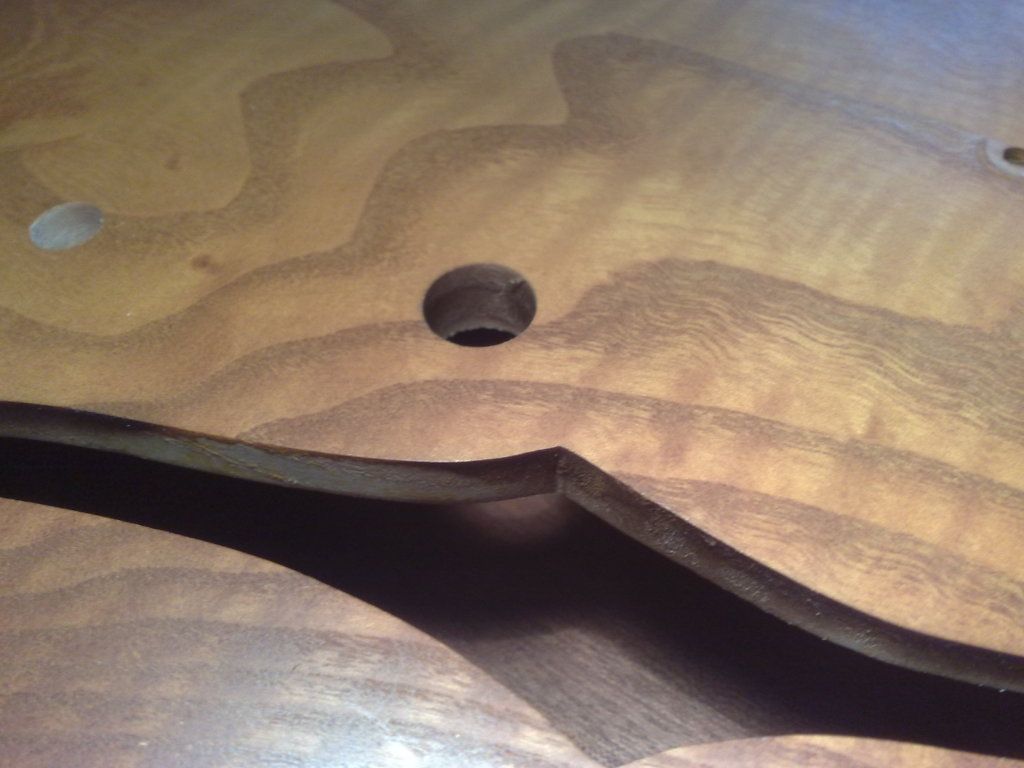
I have some problems with the electronic components on my es 335. I drilled the holes for all the stuff and was doing a little mock up i was a happy camper.
But then disaster struck
The the body thickness near the hole of the switch is to big. Its like 10 mm thick and that is also the thickness of the thread part of the switch.
Check !!
Is there a solution for this switch with longer thread ? I have nothin at te moment maybe a specialized tool to scrape away a round part of the body on the inside ???
how bout a small diameter pattern cutting router bit that fits a small router like a laminate trimmer. pattern bits have the bearing on the top of the cutter. that will follow your hole that is already there. get a rabbeting bit set up that will under cut. Of course i'm half nuts, so i'm prone to try anything once...or more, if it's fun.
as far as burst time being fun time---only if it turns out. you must be enjoying yourself, because your's definately turned out. nice job.
Take a dremel grinding bit, the big stone ones. Fish it thru the hole from the back side, chuck it in your dremel and pull "up". This will thin the back side till the switch fits.
btw try a Switchcraft short toggle, the threads look longer than that.
Thnx for not forgetting this one But no she is still not ready cant get the electronics in i am now trying a more clean soldering approach so that i have fewer cables but the problem is that i only have the f hole opening to get the controls etc in. That is the only thing i still have to do and leveling the frets but that is a job i never did so maybe i send this one to a real luthier.
I wouldn't be scared of leveling/crowning the frets. You've done such a great job on the rest of the build, I'm sure you have the brains to figure it out!
I also think you should do the fret levelling. There are lots of good descriptions of the process on the net. The methods that use marking pens on the frets to show where the frets have been leveled work really well and are easy to follow. You'll need some basic equipment though.
I'm sure you'll get plenty of help form this forum.
Some new pictures carving my top i went all freestyle completely crazzzy
this is what it looks like now i am pretty happy with it for a first time result:
And a little mock up picture
I am now getting ready set the binding but now i carved the top i isn't easy to put the bindings on the guitar how do you guys set the bindings on a carved top ?
")


 But no she is still not ready cant get the electronics in
  i am now trying a more clean soldering approach so that i have fewer cables but the problem is that i only have the f hole opening to get the controls etc in. That is the only thing i still have to do and leveling the frets but that is a job i never did so maybe i send this one to a real luthier.


